
Unbubblegumming
So there I was, Gentle Readers, with an armload of beautiful “New Old Stock” Plymouth Galway yarn. And by armload, I mean “Gimme-All-Ya-Got”, via a very nice seller on E Bay. I always was a girl with an eye for a bargain, and this one would have been wrong to leave behind. As you know, not every project has to begin with thousand-dollar-yarn. In fact, there’s a certain freedom in grabbing a pile of the budget-friendly variety because there’s less at stake, financially to experiment with.
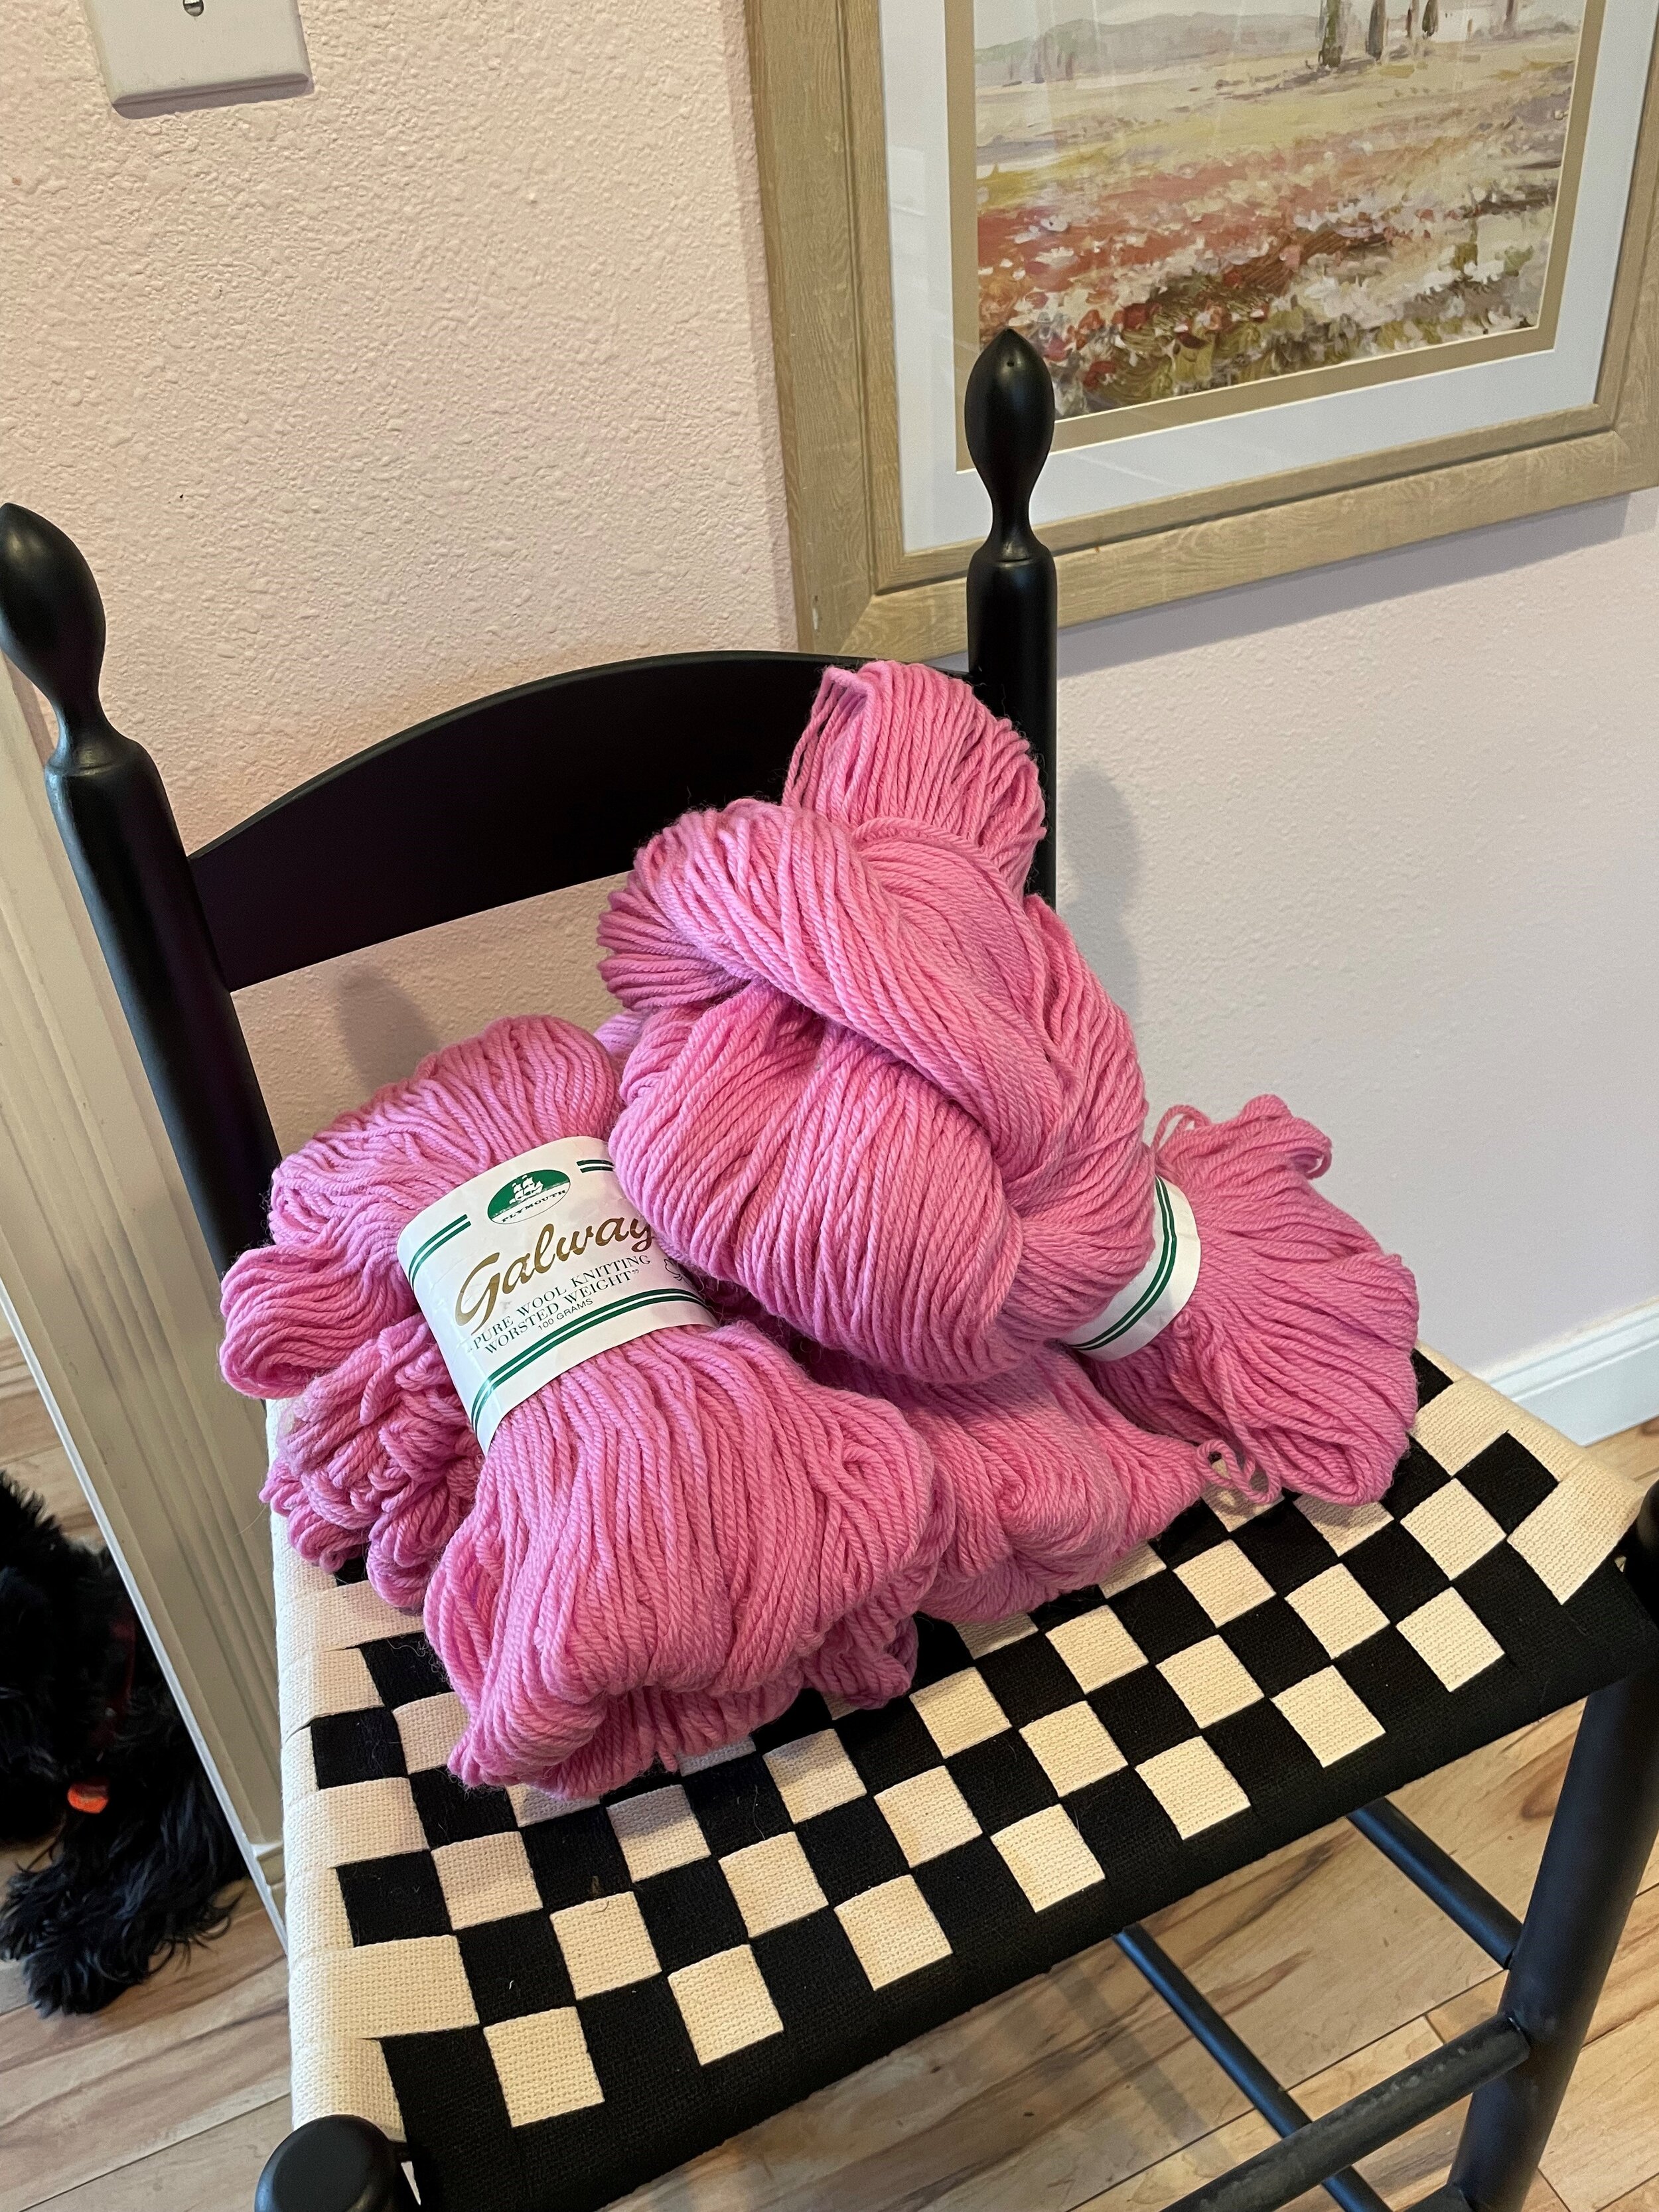
6 of the 12 skeins I scored for $30
But it wasn’t exactly my dream color. It was full-on Bubblegum pink. Meh.
Not to worry. It was nothing a few packets of Kool-Aid couldn’t fix. 48 packets, as it turned out, in a combination of Black Cherry and Blue Raspberry, at a ratio of 3 to 1.

After soaking a sweater’s worth of my skeins in warm water, I popped them into this semi-transparent bin with some water I microwaved until just boiling. The amount of water used with Koolaid doesn’t matter; you just need enough to cover the yarn. Then I put the lid on the bin and let the hot sun do its magic for a couple of hours.
I used to dye yarn this way with my kids when they were little, so the process brought back lots of fond memories. The intoxicating scent of powdered drink mix always brings on a fit of Mommy Nostalgia.
This dye technique couldn’t be easier: Benign neglect is all you need. I wandered off to eat popsicles in front of a fan, confident in the yarn’s ability to absorb the pigment and leave nothing but colorless water behind. You can tell all the dye has been taken up when the water is just a bit cloudy, with no dye remaining in it.
You can gently stir the yarn around a bit during the process if you want the color to be more even, or you can leave it alone like I did for more of a kettle-dyed effect.
Another fun effect can be achieved by putting either end of the wet skein into different colored dye containers. The skein will wick dye from either container toward the center for a multicolor wave.
You can also get ombre by suspending one end of a skein into the dye, then gradually lowering it into the bath more and more at intervals. Super fun, whether you do it with smallies, or on your own.

I let it dry, happy with the Rhubarb color it turned. Witchcraft, I tell ya.

And here’s a peek at it, once knit. Tangy!
I’m now inspired to make a new class for you; on something I’ve never done before: Your First Sweater. Maybe you’re a newer knitter who’s made a few accessories and is ready to try a sweater? Or perhaps an experienced stitcher who has been around the world and back in shawls but never tackled a garment? I’ll show you how to measure and fit a real live body, with shaping and openings and everything! I’ll be teaching this in November, so stay tuned for more details.
Meanwhile, please join me for 2 Strings = Not Scary next Friday HERE. No homework, no stress, just a fun introduction to stranded colorwork with me.
Or how about dipping a toe into Entrelac? Sign up HERE to make a fun little project that magically changes colors.
Ready to tackle the most feared act in knitting? There’s safety in numbers when you join me and other thrill-seeking knitters HERE for Eeek! Steeks!
And there are still a few spots available HERE in my first-ever Stars and Stripes workshop. I’ll actually be knitting along with you for this one, which will be a hoot! I can’t wait to show you my zany idea for a modern take on the classic Fana cardigan.
Welcome, Knitting Weather. It’s gonna get colorful in here.