
How to Make a Kiltmaker's Pincushion
I promised my pal Dave from Kilt school that I'd send him some of my favorite Japanese sewing needles. Which immediately shifted to the rear burner when I got home and remembered I had to finish writing a book. And writing two new classes. And making a new sweater. Dave's been been patiently waiting through all that, just to get some needles. I got them finally, and decided it would be nice to send a little surprise along with them.
One peculiarity of the kiltmaking process is that the maker needs a pincushion that can be operated with one hand. When you reach for a pin, your other hand is always holding a pleat firmly in place. And most pincushions lift off the table when you grab a pin one-handed. And yes, those magnetic thingys are heavy enough to stay put, but you can't be assured of grabbing the non-pointy end of the pin every time. Ow.
So, self-proclaimed Clever Beastie that I am, I decided to solve the problem, while making a weighted pincushion for Dave.
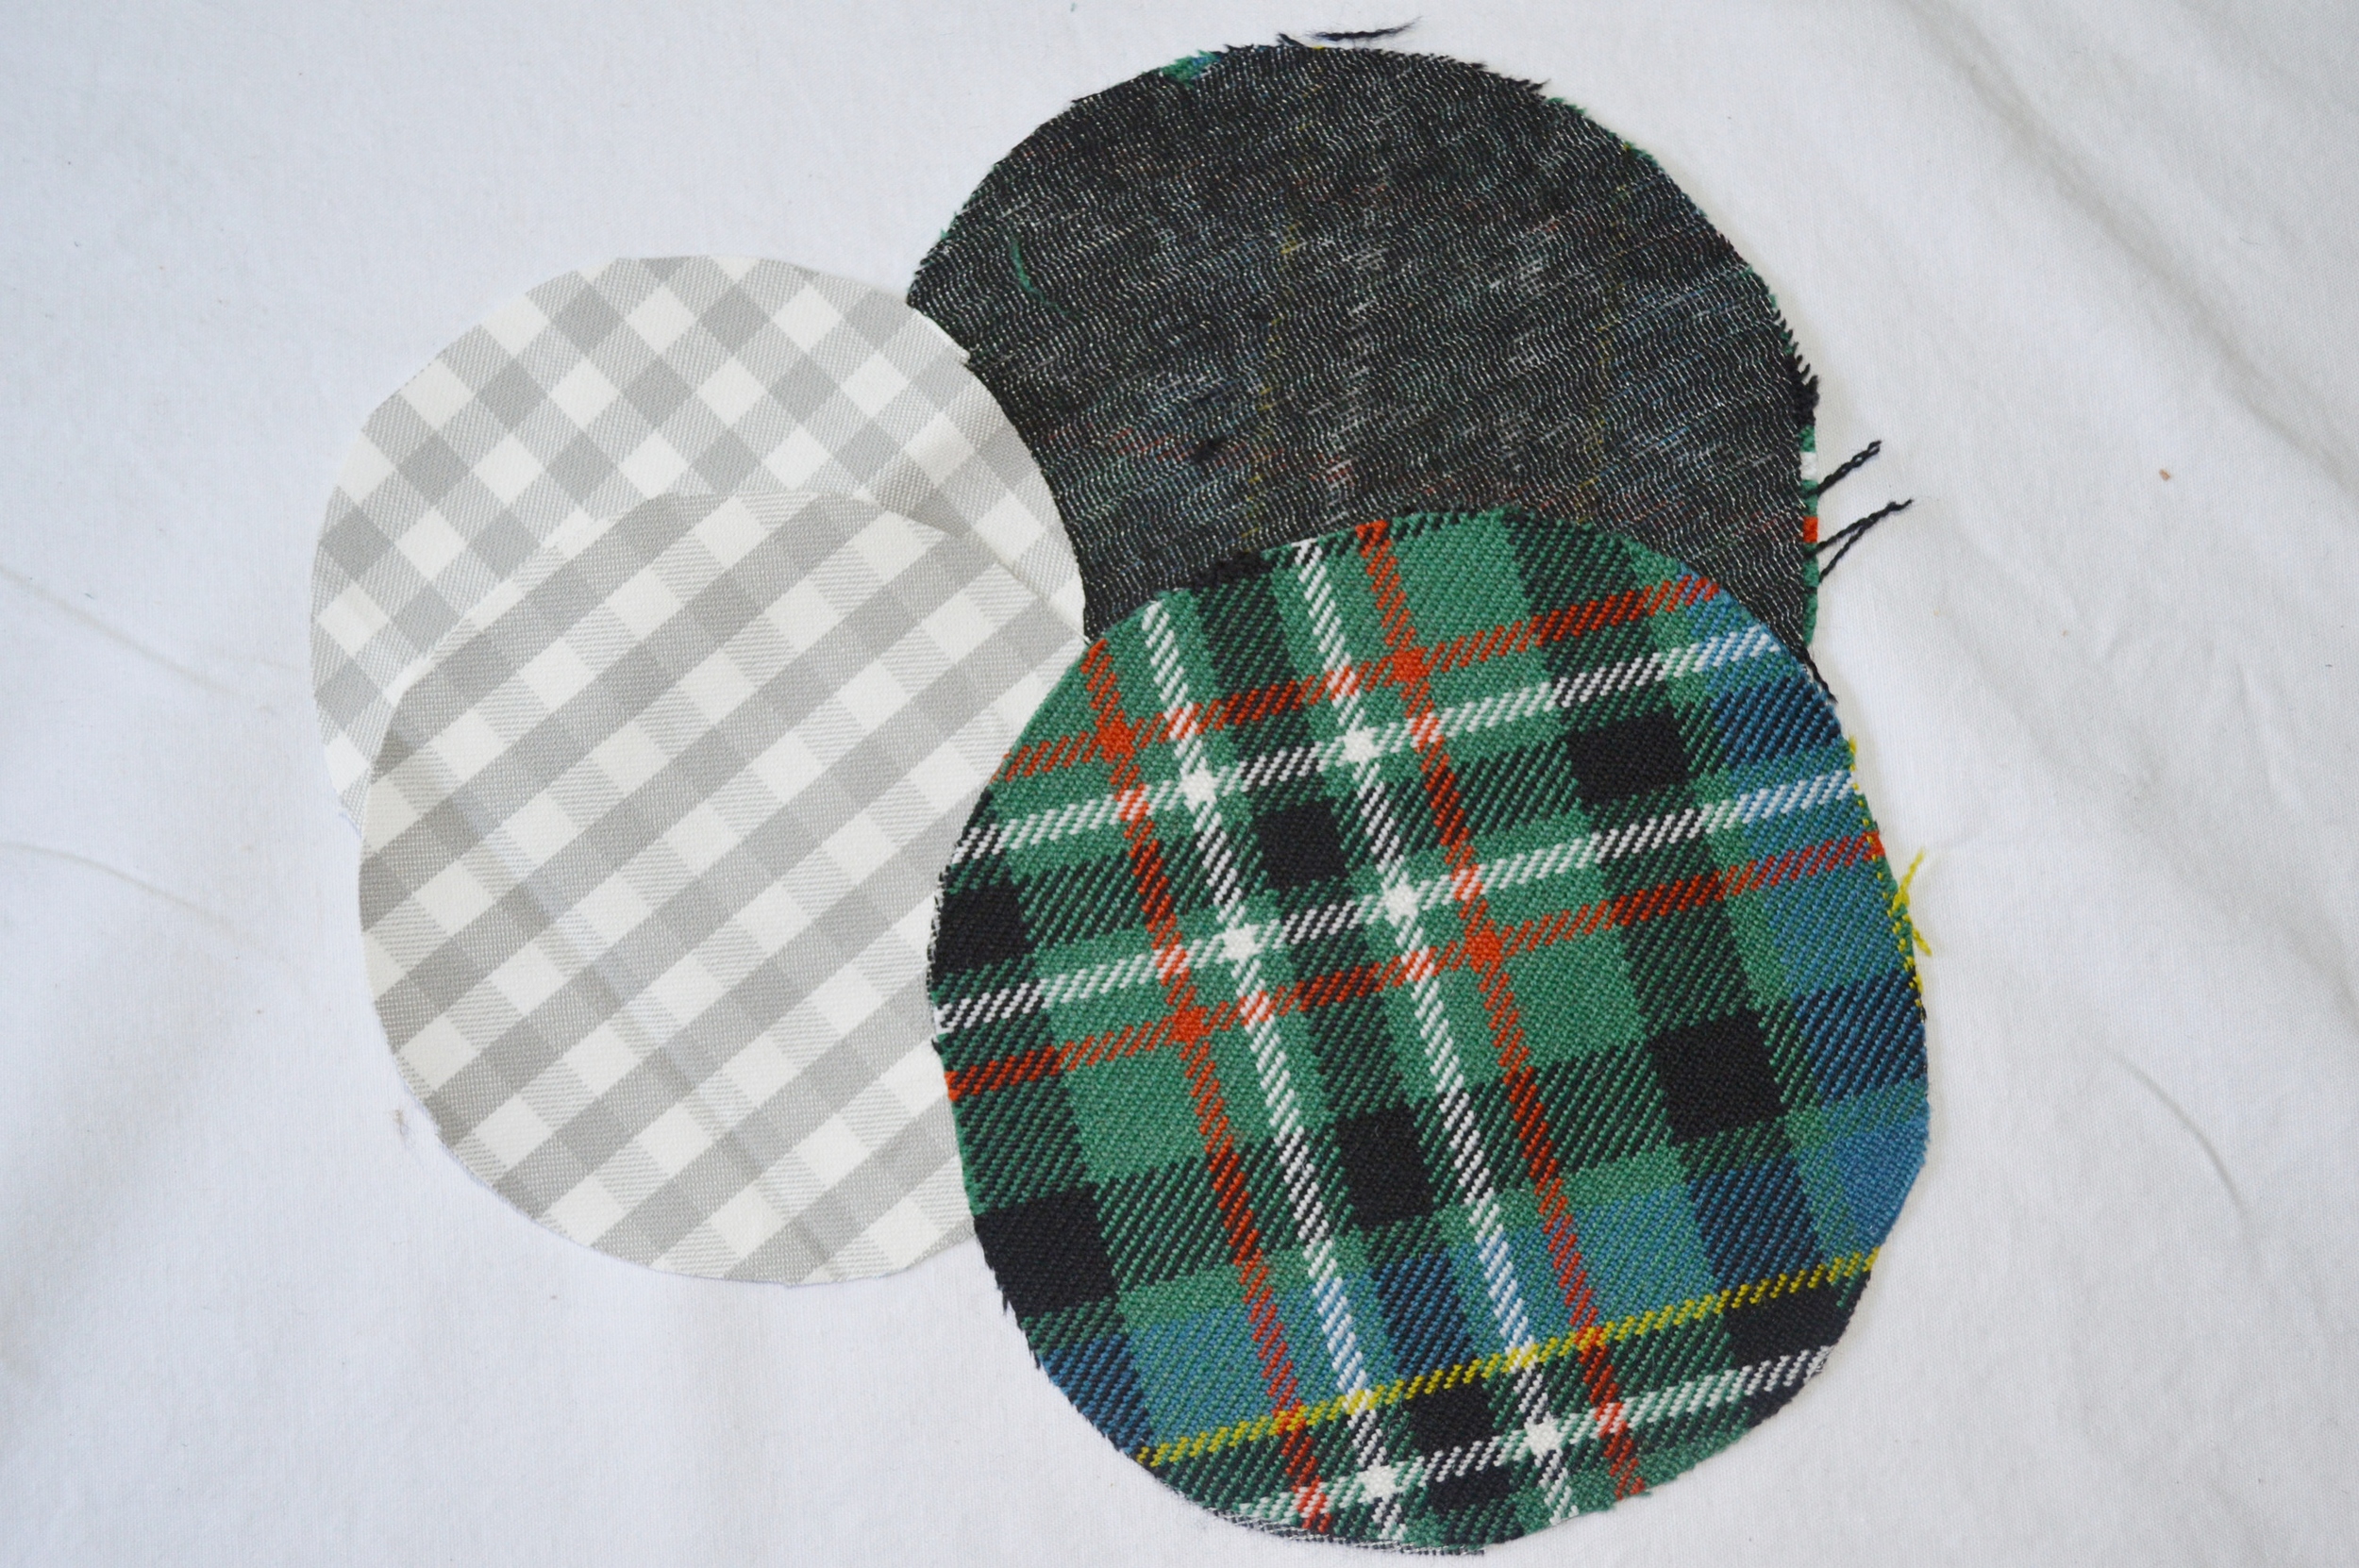
At the end of every kilt, there are leftover scraps from where each pleat is cut away. I thought it would be a fun forget-me-not to use some of mine for Dave's surprise. I cut two scraps into circles, and applied some iron-on interfacing to their backs (kilt tartan, though heavy, is actually somewhat loosely-woven, so the interfacing will keep the twill firm). Then I cut two more, slightly smaller circles from scrap fabric. The size of my pincushion was dictated by the size of my tartan scraps; about 5 1/2 " in diameter.

I considered several options for material to weight the pincushion. Pennies would be too hard to tuft through. Fishing weights were too expensive. Beans or rice might mildew in time. Buckshot would have been ideal, but I was all fresh out and much too lazy to procure any. Finally I just pilfered a handful of pebbles from my neighbor's footpath. I washed them with soap and water in a strainer and let them dry completely. Next, I stitched the two smaller circles together, leaving an opening for pebble-insertion. Sidebar: Barb Tewksbury, our kiltmaking teacher, is a geologist by trade. I feel sure she'd approve of the rocks.
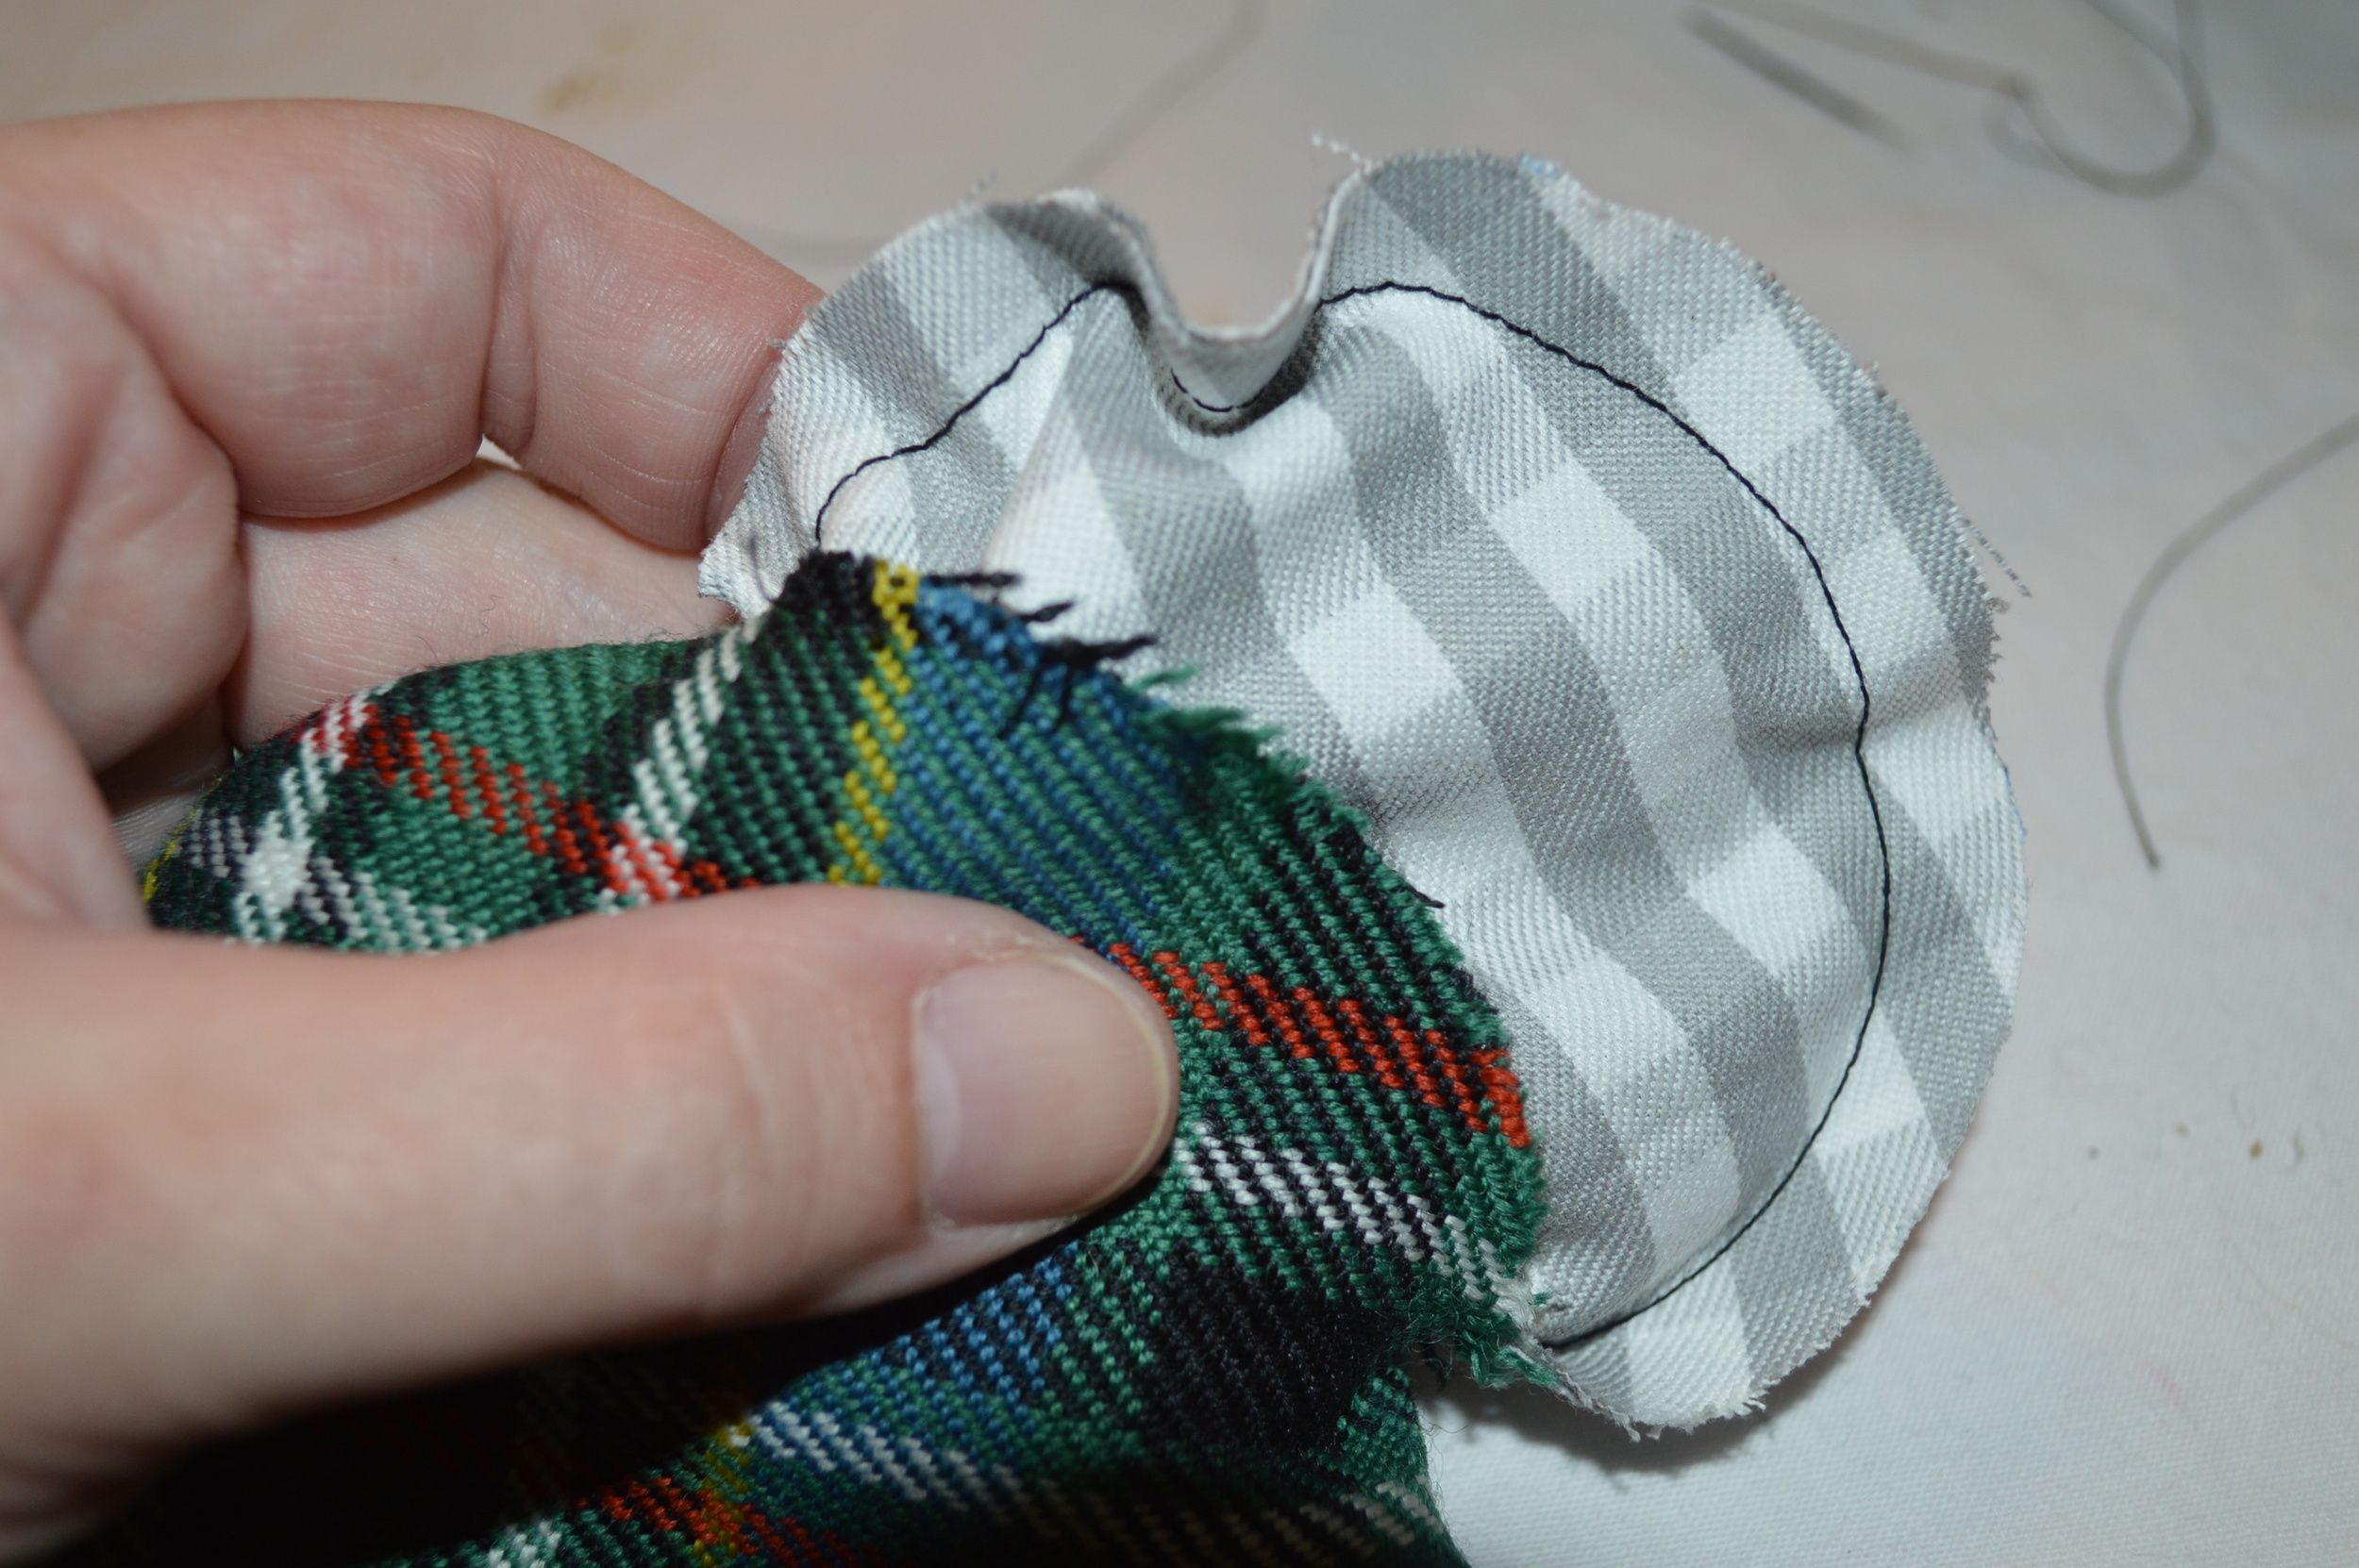
I stitched my tartan circles together, leaving an opening for stuffing, and poked the bag-o-rocks inside.

With the pebble packet on the bottom, I stuffed the upper part of the cushion firmly with wool roving, and sewed the opening closed by hand.

I threaded about 2 yds of narrow ribbon through the longest ribbon embroidery needle in my collection, and stabbed it straight through the cushion from top to bottom. It took a few attempts to wiggle the tip of the needle through the pebbles and make it come up in the center of the bottom, but eventually I got it right. I used a thimble and pliers to work the needle through all the layers, and left a tail of ribbon about 8" long on top of the cushion.

Here you can see how I made the "petals" of the cushion. I just worked a big "stitch" with my ribbon, around the edge of the cushion, and back up through the center where I started.

I pulled the ribbon snug, then made another stitch on the opposite side of the cushion, again coming back up through the center starting point.

Here are two more ribbon wraps, just like the first.

I made a total of 6 ribbon wraps, pulling each one snugly. Then I made a small (1/4") ribbon stitch on the underside of the pincushion, bringing the needle back up through the center of the top. I passed each end of the ribbon through the shank of a button, knotting securely, and buried the ends inside the pincushion.

Done and Done. I tested it, and am happy to certify that this is an Official Kiltmakers One-Handed pincushion. I'm predicting a few more of these in my future...